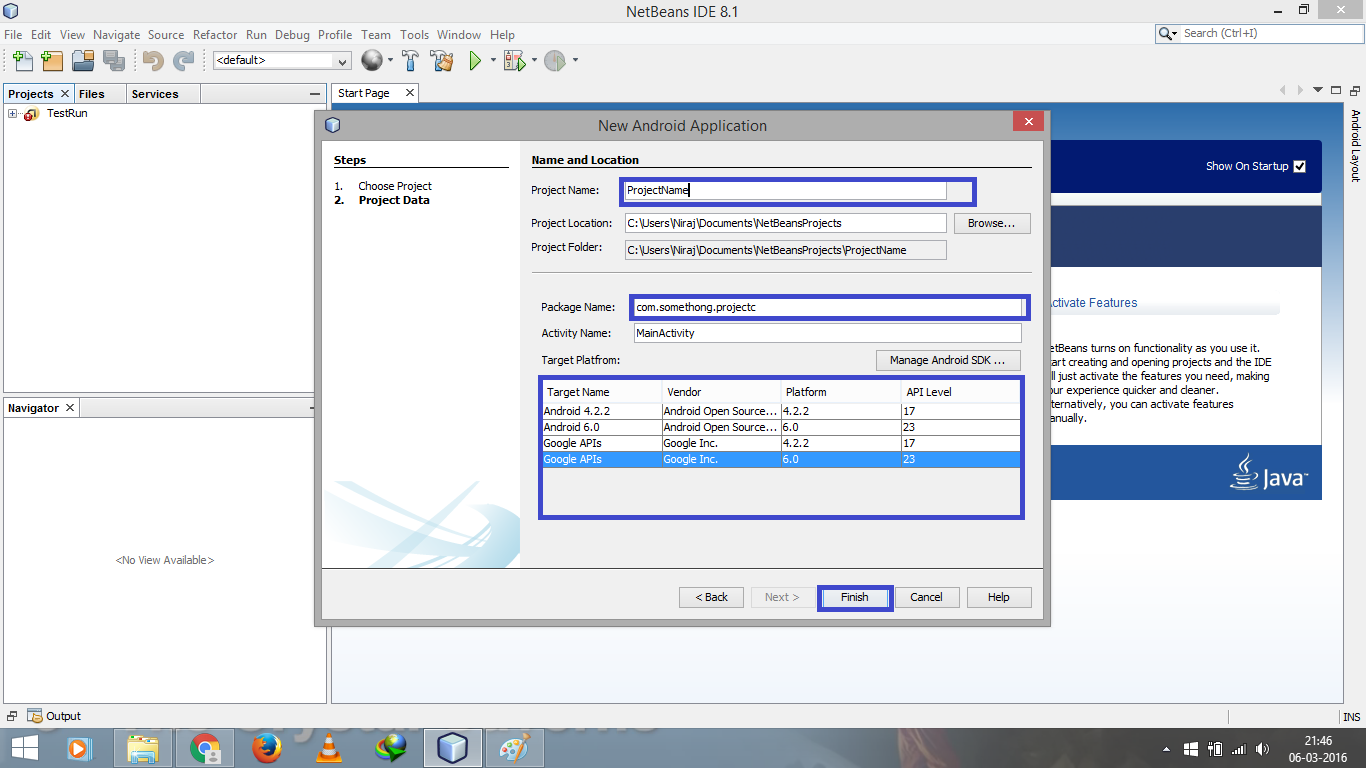
When a new android project is created main.xml layout file is generated
by default. In Netbeans LinearLayout is default layout.There are six type
of layout in android:-
1. Linear Layout
2. Relative Layout
3. Table Layout
4. Absolute Layout
5. Frame Layout
6. List View
7. Grid View
Linear Layout: Android 'LinearLayout' is a view group that aligns
all children in single direction either horizontal or vertical. The default
orientation is horizontal.
Some of the basic attribute of Linear Layout.
Attributes
|
Description
|
android:id
|
ID which uniquely identifies layout
|
android:baselineAlign
|
This is a Boolean value which must be set true or
false. It prevents layout from aligning its children baseline.
|
android:gravity
|
This specifies how object should position its
content on both X and Y axis.
|
android:orientation
|
This specifies direction of all objects in
layout. It can be either set to horizontal or vertical. Default orientation
is horizontal
|
android:weightSum
|
Defines the maximum weight sum.
|
android:background
|
Sets background image
|
Example code for Linear Layout

Relative Layout: Android RelativeLayout
enables you to specify how child views are positioned relative to each other.
The position of each view can be specified as relative to sibling elements or
relative to the parent.
Attributes
|
Description
|
android:id
|
ID which uniquely identifies layout
|
android:gravity
|
This is a Boolean value which must be set true or
false. It prevents layout from aligning its children baseline.
|
android: ignoreGravity
|
This indicates what view should not be affected
by gravity.
|
By default, all child views are drawn at the top-left of the layout, position
of each view must be defined using the various layout properties available from
RelativeLayout.
Example for Relative Layout


Table Layout: Android TableLayout groups views into rows and
columns. You will use the <TableRow> element to build a row in the table.
Each row has zero or more cells; each cell can hold one View object.
Attributes
|
Description
|
android:id
|
This is the ID which uniquely identifies the layout.
|
android:collapseColumns
|
This specifies the zero-based index of the columns to collapse. The
column indices must be separated by a comma: 1, 2, 5.
|
android:collapseColumns
|
The zero-based index of the columns to shrink. The column indices must
be separated by a comma: 1, 2, 5.
|
android:stretchColumns
|
The zero-based index of the columns to stretch. The column indices
must be separated by a comma: 1, 2, 5.
|


Absolute Layout: An Absolute Layout
lets you specify exact locations (x/y coordinates) of its children. Absolute
layouts are less flexible and harder to maintain than other types of layouts
without absolute positioning.
Attributes
|
Description
|
android:id
|
This is the ID which uniquely identifies the layout.
|
android:layout_y
|
This specifies the y-coordinate of the view
|